
Chewy Granola Bars
gluten free, dairy free
makes 2 dozen (recipe can be halved)
Wet:
1 c almond butter (store bought or homemade, you can also use peanut butter)
1/3 c honey
1/3 c sugar
1/4 c coconut oil
1/4 c brown rice syrup (this makes them a bit firmer, but you can omit and double the honey)
1 tsp salt
1/2 tsp cinnamon
Dry:
1/2 c buckwheat cereal (looks kind of like steel cut oats, I used Bob's Red Mill)
1/2 c quinoa flakes
1/2 c ground flaxseed
1 c puffed brown rice
1 c puffed millet
1 c sliced almonds
1 c finely chopped walnuts
1 c chopped dried cherries (or other fruit)
Optional: chocolate chips
In a small pot, combine wet ingredients. Heat on low or medium low, stirring, until the sugar dissolves and everything is well blended.
Meanwhile, in a large mixing bowl, combine your dry ingredients.
Pour your wet mixture over the dry mixture and stir well to thoroughly combine. Use your hands if needed!

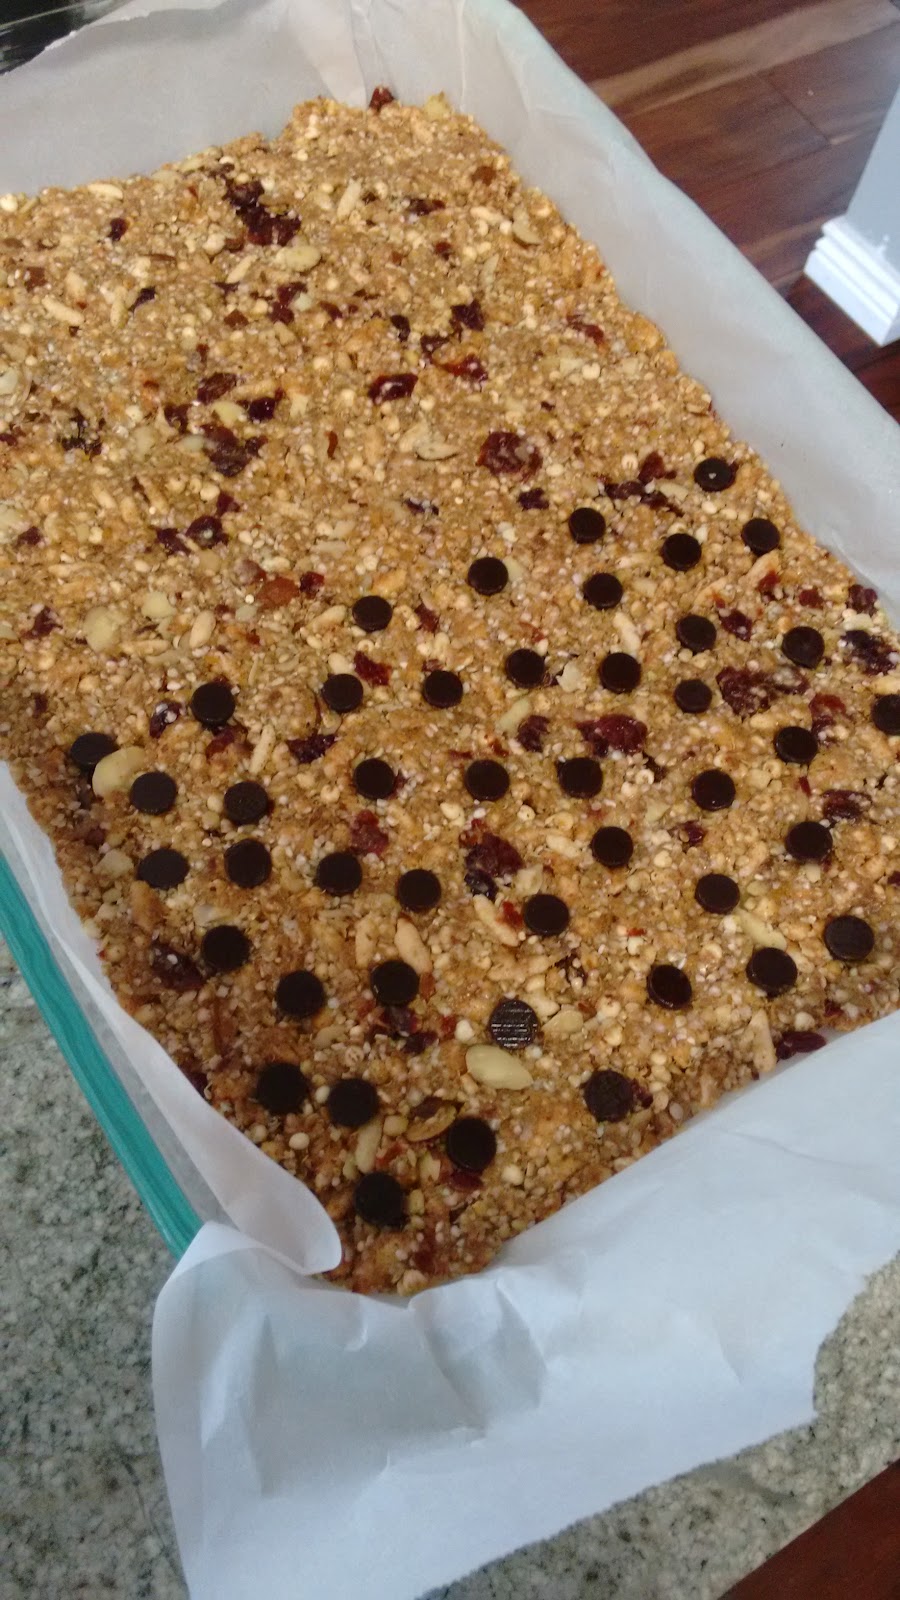
Line a 9x13 glass dish with parchment paper. Helpful hint: use clothes pins to hold the parchment in place as you dump in the granola. Remove the clothes pins, and start pressing everything down in to an even layer. I use an extra piece of parchment to keep my hands from getting sticky, but you could use wet or lightly greased hands if you wish. You really want to get it compacted tightly. That is what makes them stick together.

If you wish to use chocolate chips, press them into the top of the bars as you are compacting them. (If you add them while stirring, they will probably melt.) I added some to half of mine.
Allow to sit and cool for at least an hour. You can speed up the process by putting them in the refrigerator, but it's not necessary.
Cut into 24 squares. Prepare to make more tomorrow, because everyone will eat them all up. At least that is what happens in my house.
No comments:
Post a Comment